Introduction
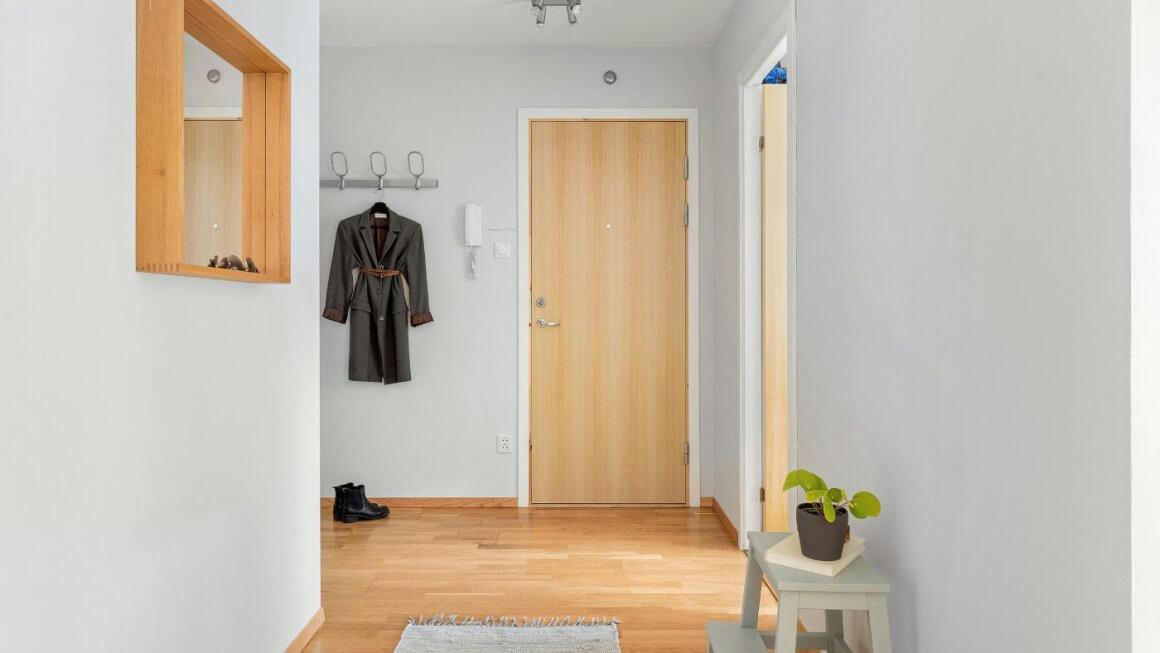
Staining wooden doors is an excellent way to give the entrance to your home a simple facelift and can make all the difference to the overall façade of your home. After all, the front door is that first thing that people see and is the where the first impression of the house and its occupants comes from. Alternatively, the staining of wooden doors inside the home could be an easy way of freshening up your décor without renovating the whole house or room.
A wooden door creates a very homely feeling, but unstained, unfinished doors can be a little cold and lacking in character. Here are some tips and instructions on how to stain a door correctly. Follow these steps and your home will have doors to die for.
Tools needed
- Sandpaper 150 grit – 250 grit
- Safety goggles and safety mask
- Latex gloves
- 0000 Wire wool
- Micro fibre cloth or tack cloth
- Natural bristle brush, staining pads or lint free cloths
- Wood stain
- Urethane finish
- Masking tape
- Dust sheet
Price
If you already have the tools in your kit, staining the door should cost little more than the price of a tin of wood stain. Depending on the product you choose and the size of the tin, you can usually pick these up from somewhere between £7 and £20.
Time required
Wood stain, depending on the type (water based, oil based or gel based), can take anywhere from two hours to 48 hours to dry, with even longer drying times in humid conditions. Of course preparing the wood correctly will reduce drying time but always follow the guides provided with the stain that you are using.
Which stain should I use?
The type of stain you choose will depend on the door you are staining. Here’s a guide on what to look for:
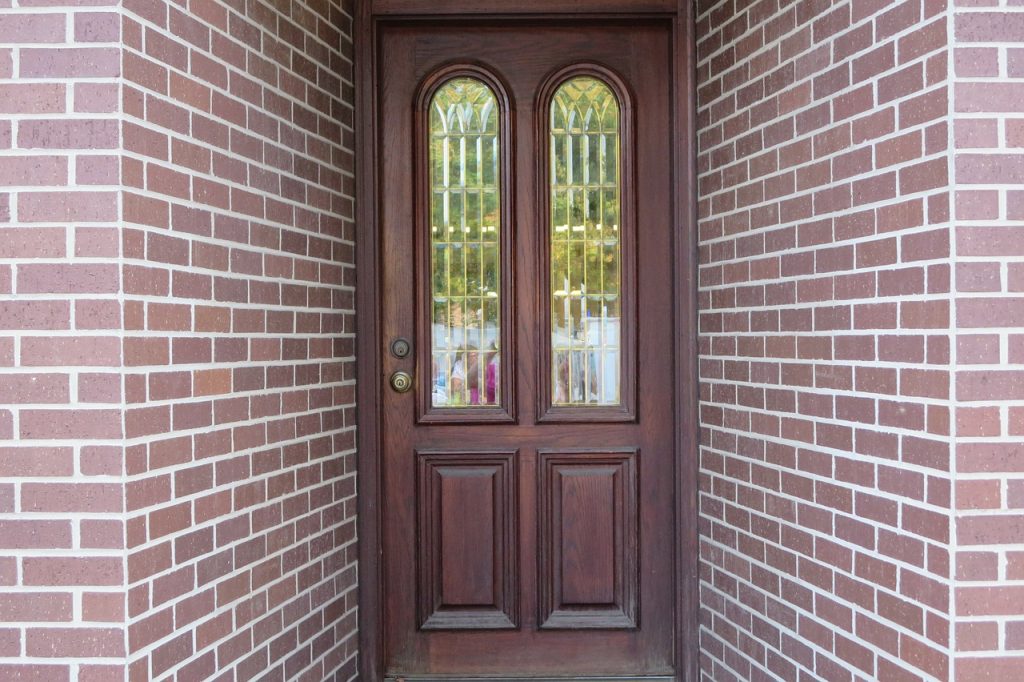
Front door: if you’re treating an exterior door you need to consider the effects of the weather. Look for an exterior wood stain that offers adequate protection from the elements and from UV rays. An oil based stain will offer the best protection because it will penetrate the wood better. However, you should look out for a mildew-resistant product as some oil based stains can encourage mildew growth. Oil based stains take longer to dry than water-based stains, but they are worth the extra time due to their durability.
Internal doors: water based wood stains should be fitting for interior doors. They dry more quickly helping you get the job done, and are also non-flammable. Water based stains also produce less fumes than oil based stains making them more suitable for indoor use.
Step by step instructions
If you are staining a door that is already in place, you should remove it so that you can adequately sand the wood to prepare it for the stain. If hinges and door knobs are still attached, you can also remove these or, alternatively, cover them with low-tack masking tape. If the door has any glass panels you would also want to place the masking tape around these areas. As mentioned in our How To Paint a Door Correctly post, low- tack tape is more expensive that traditional duct tape and masking tape but is worth paying the extra to avoid damaging the area to which is stuck or leaving any residue behind.
- You should begin by covering the work area with a dust sheet and making sure that area is well ventilated. Consider that you might want to remove any children or pets from the workspace also.
- If the door has been previously painted, strip the paint using white spirit and a scraper.
- Next, you will begin the sanding process. Starting with coarse sandpaper, begin sanding in a circular motion and sand with the grain of the wood. If you have access to an orbital sander, you may want to consider using this as it will get the job done much quicker! Take your time and remember not to press too hard. Wipe away any dust and change the sandpaper to a lesser grit and continue progressing in this manner until you get to the finest grit, wiping away any dust before each time you change the paper.
- Use a damp, lint-free cloth to wipe away remaining saw dust.
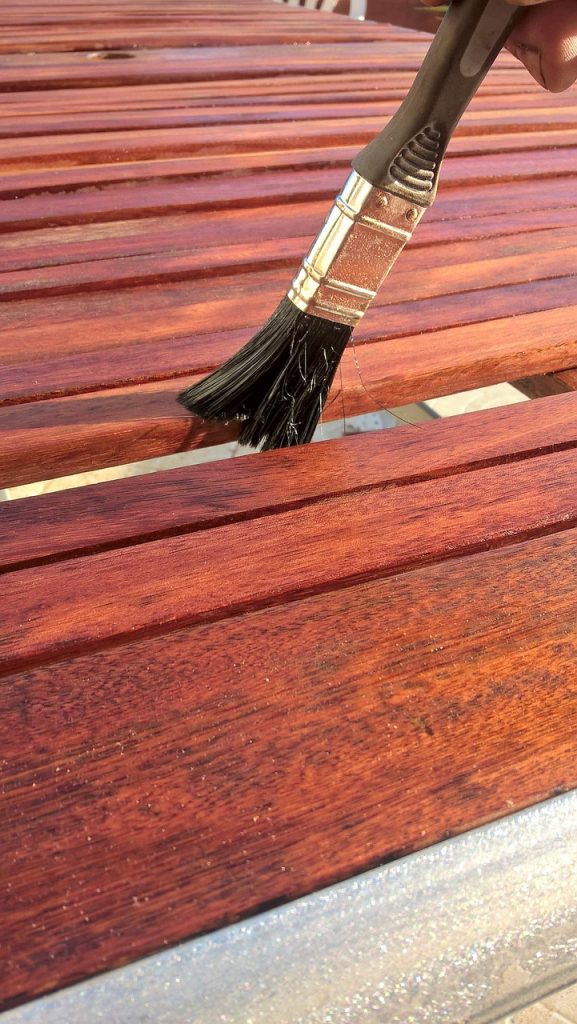
- Next, comes the fun part. You can use the stain straight from the tin but you might find it useful to transfer it to a stain tray. Dip your brush, staining pad or lint free cloth into the stain and let the excess drip back into the tin or tray.
- Apply the stain to the door with even wiping motions while working the product into the wood and following the grain. Try to work quickly and accurately so that the wood absorbs the stain evenly. If there are any runs or drips you should try to wipe them away straight away with a clean rag.
- Let the stain sit on the door for the time recommended by the manufacturer and then wipe it off with a dry, lint-free cloth. You should continue this process until the door has reached the desired depth of colour.
- Let the door dry thoroughly. This could take anything up to 48 hours but can be affected by factors such as humidity. Refer to the manufacturers’ guidelines for the best results. It’s also important to note that wood stain which is old or has not been properly stored may take longer to dry and in some cases may not dry at all.
- Next, prepare the door for a clear urethane finish. Staining the door may make it look great, but it doesn’t protect it from damage. This is where the urethane finish comes in and to prepare the door for it, you should use 0000 wire wool, lightly, all over the door. This will remove any small wood fibres that may have appeared during the staining process.
- The urethane finish is available in either flat, semi-gloss or high-gloss formulations. Following the manufacturer’s guidelines, apply several coats of the finish. Generally, it’s up to you how many you apply. Between each coat, use the wire wool again and keep applying until you get the desired finish.
- Allow the door to dry completely before removing any tape and reattaching any hinges or doorknobs (if you removed them). Hang the door back on the frame and you are finished!
Things to remember
- Staining a door is all about giving the wood colour and character and emphasising the natural grain of the wood. Always work with the natural grain and never go against it.
- Accuracy is key so it’s important to take your time but it’s essential that you work swiftly and consistently so that the stain can be absorbed easily by the wood.
- Proficiently sanding the wood is vital so that you can achieve a smooth finish.
Conclusion
Staining a door is definitely a drawn-out procedure but rushing it or skipping steps will only result in a sub-par standard of finish and you will be less than happy with your freshly stained door. It’s easier to prevent mistakes by taking your time rather than correcting them afterwards. Working consistently and ensuring adequate drying time is important so don’t be tempted to fast-track the process.
Related articles