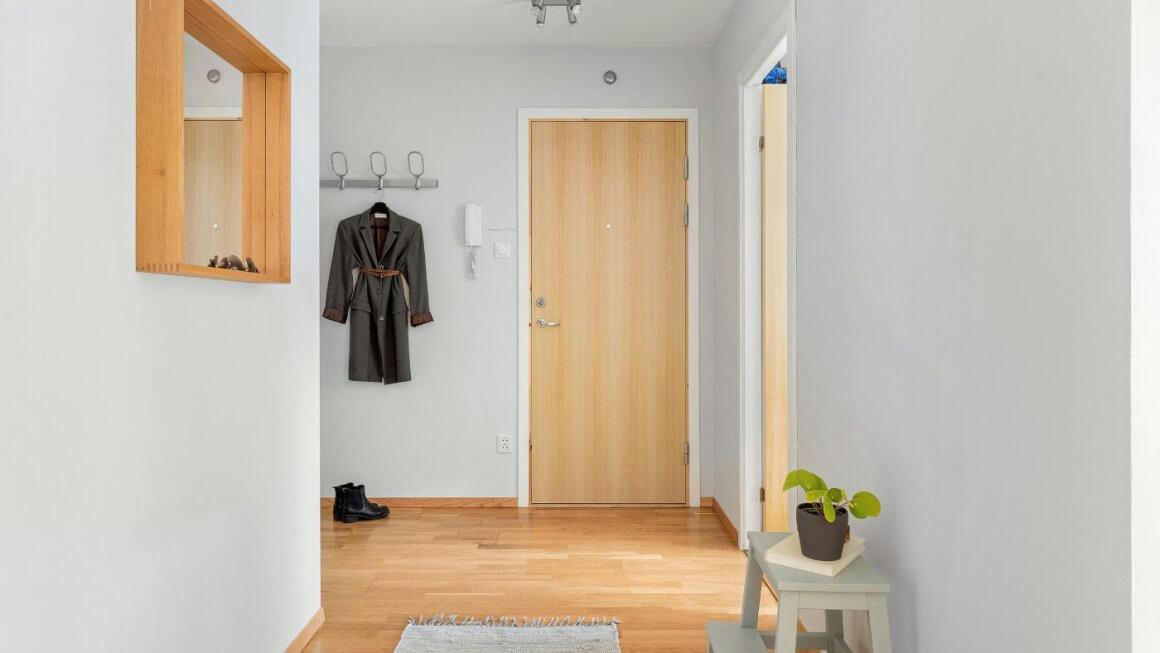
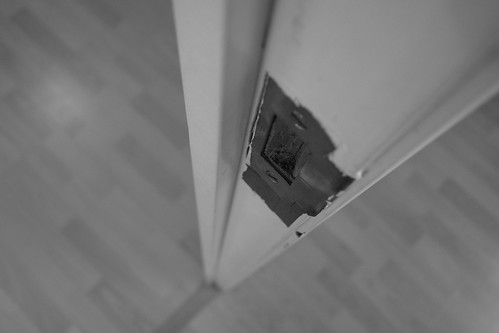
A door frame is made up of three parts – the door lining, where the hinges are fixed; the door stop, against which the door will close; and the architrave, which is the strip of wood fixed around the outside of the door lining. The architrave is flush against the wall, and must be painted carefully to ensure a professional looking finish. Follow these tips when painting your architrave for best results.
Tools Needed
In order to get the job done well, as with most DIY tasks, you’ll want to first assemble the appropriate tools. These might include:
A hot-air gun and paint scraper
In order to soften paint before you remove it with the scraper, a hot air gun will work wonders.
Face mask and gloves
Some older paints contain lead. To avoid inhaling deadly fumes while you’re stripping old paint, wear a mask. For much the same reason, wear gloves.
Fine sandpaper
You’ll need sandpaper to remove those minor imperfections on the surface of the wood. It’s important that we don’t go overboard, here; minor imperfections demand an accordingly fine sandpaper.
Knotting sealer
During your work, you may encounter knots and cracks. Applying a knotting sealer will help to eliminate these, and ensure as smooth a surface as possible.
Cleaner
In order to thoroughly clean the surface, you’ll need the appropriate cleaner. This might mean a modern cleaning solution, or it might mean traditional sugar-soap.
Masking tape
You’ll want to achieve sharp, defined lines at the edges of your architrave. Masking tape will help you do this.
Primer paint
This is a special sort of paint designed to ensure that the wood is protected, that the proper paint adheres to the surface, and that it looks as good as possible.
Undercoat paint
This is the paint which you’ll be applying after the primer has dried. It’s usually there to ensure that you’re starting from scratch, rather than adding new colours over the top of the old ones. Sometimes, the undercoat and primer can come together as a single coat of paint, saving time.
Topcoat paint
This is the paint you’ll be applying over the top of the undercoat. Select your preferred colour of gloss paint.
Small paintbrush
The architrave is a relatively thin stretch of wood, so you won’t need a large brush or a roller. 25mm (or an inch wide) is typically sufficient.
Caulk
You’ll want to fill in any scratches and joints in order to create a perfectly smooth surface. For this, you’ll need caulk.
Other materials
Optionally, you might want to track down some white spirit and a lint-free cloth – these will help you to get the cleanest possible surface prior to painting – and to do so with relative ease.
Time Required
One resource we haven’t yet mentioned is time. Painting is something that requires a modest commitment – as you’ll need to wait for the paint to dry as you go. If you’re applying several layers of oil-based paint, you’ll need to go through several cycles of painting, waiting and smoothing before the job can be truly finished. That said, you’ll be free to walk away and get on with other things while the paint is drying – but you probably won’t want to invite guests over.
Painting a door architrave is a task that should be done carefully in order to ensure a smooth and consistent finish – if you rush it, then you’ll risk creating unsightly splodges which will take even longer to correct. It’s worth setting aside several evenings, or an entire weekend, to make sure that the job is done properly.
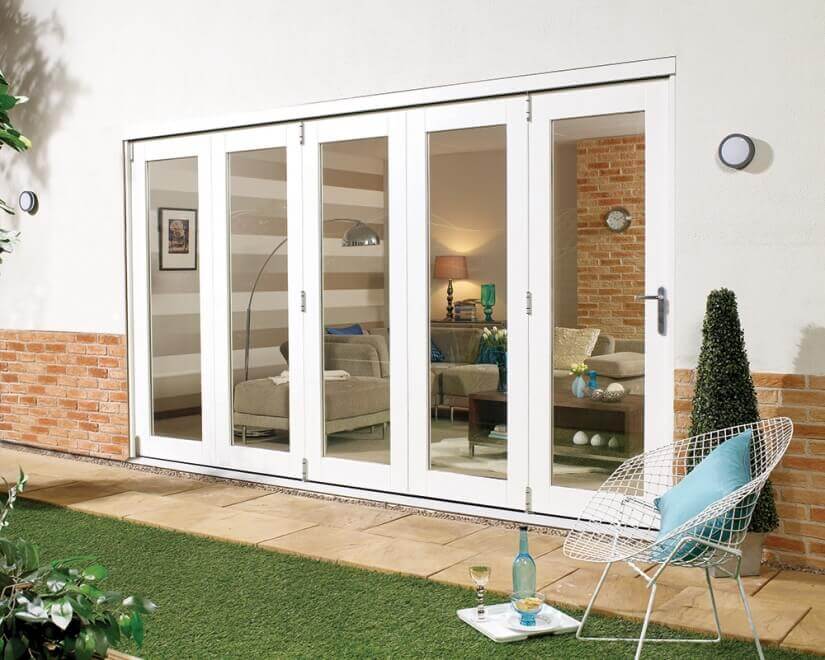
Give your doors a facelift with stylish new solid wood frames. Shop our range of door frames, architraves and weatherboards online today!
Step by Step instructions
Now that we’ve set aside the necessary tools and found the necessary free time, we can get started with the job itself. Let’s begin!
1. Prepare a space
If you’re going to be applying paint, then you’ll want to ensure that there’s adequate ventilation. An open window should be sufficient. You’ll also want to protect the floor by setting down some old newspapers around the bottom of the door.
2. Soften and remove old paint
Next, you’ll want to use your hot-air-gun and scraper to remove the old paint. Do this as carefully as possible, being sure that you don’t damage the underlying wood. Be sure to wear a mask and gloves if you’re removing lead paint.
3. Wash and sand down the architrave
Next you’ll want to clean the surface of all remaining paint and lingering dirt. Do this using a sponge and your cleaning-solution of choice. When you’re done, lightly sand the wood with fine sandpaper, and use a lint-free cloth dabbed in white spirit to remove any lingering dust and paint.
4. Eliminate knots
Where you encounter knots, eliminate them with knotting sealer.
5. Apply masking tape
Next, you’ll want to put masking tape around the edges of your door. Make sure that it’s flush to the side of the architrave. If you’re painting the architraves near carpet, use masking tape to protect the carpet too.
6. Apply primer
You’re ready to apply your first coat of primer. Brush it well into the wood, and wait for it to dry, before smoothing the surface with fine sandpaper.
7. Apply undercoat
Using your thin paint brush, apply the first coat of undercoat. Holding the brush nearer the top will allow for finer control. Ideally, you’ll want to do this in many thin coats – but you don’t want to spread the undercoat too thinly, so be sure to keep dipping your brush in the paint once it starts to dry. Apply a coat and allow it to dry before applying a second. Drying should take around twenty-four hours if the conditions are favourable. Gradually, you’ll increase the opacity of the surface; if the wood is already quite light, then you might be able to get away with just a single coat.
8. Fill the joints
After you’ve allowed the undercoat to dry, you’ll want to fill the joints between the architrave and the door’s lining with caulk. After this has dried, wipe it clean. If you apply too much caulk, then you might need to sand more extensively – which will require that you apply another layer of undercoat to achieve a smooth finish.
9. Apply topcoat
Next, you’ll want to apply the top coat. Due to the size and shape of the architrave, most people find it easier to get a neat finish by using a brush, but it can also be possible to use a mini roller. We’d recommend that you use a 25mm (1 inch) brush to paint the architrave. You can hold this brush like a pencil if you wish, although holding the brush by the ferrule gives better control. Don’t try to spread the paint too thinly. Dip your brush into the paint again as soon as the brush starts to feel dry.
To create a neat finish, paint the architrave using the “cutting in” technique. Dip the brush into the paint so that one-third of the bristle length is covered in paint. Remove excess paint by drawing the brush across the rim of the paint tin. Carefully paint a line running down the architrave where the frame meets the wall. This small paint line is called a “bead”. After creating the bead, fill in the face of the architrave.
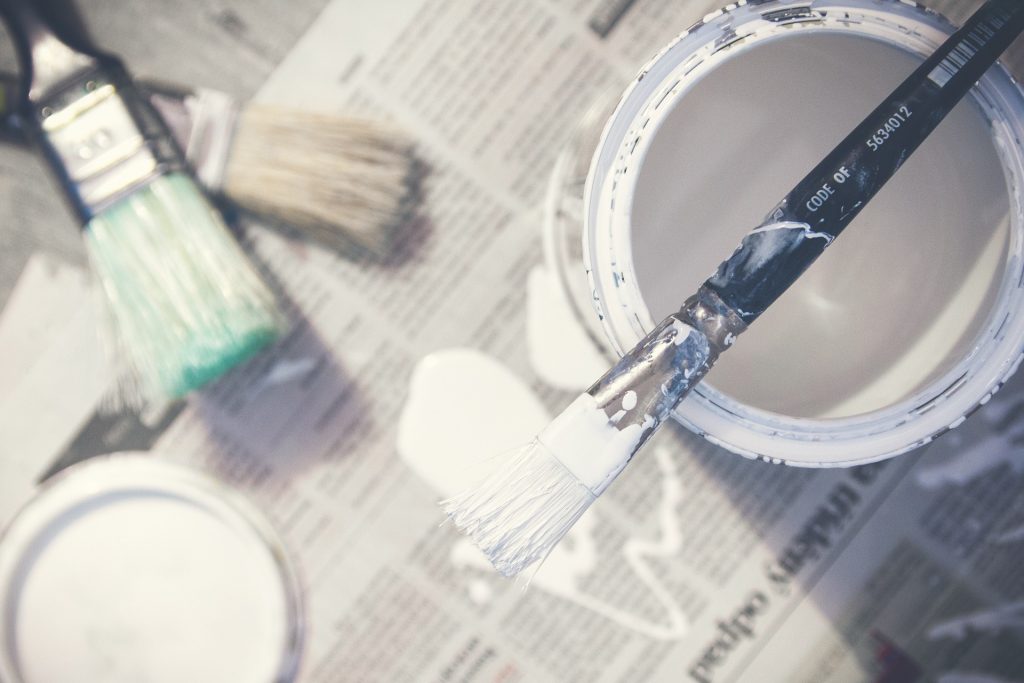
Which Paint To Use On Architraves
We’ve covered how to paint them, but what about choosing which paint to use? Traditionally, oil based gloss paint was used to paint woodwork like architraves and skirting boards. These are hard wearing and provide a luxurious looking finish. However, they can take a long time to apply well and to dry, and they don’t allow the wood to breathe.
Today there are water-based gloss paints available. These provide the benefit of being easier to apply and to clean up after painting. However, they may not provide such a smooth or hardwearing finish.
Usually a gloss paint is the best choice for painting architraves. Whether your choose an oil based or water based gloss is up to you.
Which Should I Paint First, The Architraves Or The Walls?
If you’re decoration a whole room, it’s always best to start with the ceiling and walls first. Painting all woodwork, including architraves is the finishing touch. This way you can take extra care when painting architraves to ensure you get a great finish.
Additional tips
The steps we’ve outlined here will allow you to get your architrave looking immaculate, but they’re by no means the only way to achieve that end. Some painters will perform the caulking at different stages of the job – before the undercoat or even primer is applied. Some might apply just a single coat of undercoat and achieve reasonable results – though, for new frames, at least two are generally advisable.
If you’d like to paint the frame on one side of the door a different colour to that on the other side, perhaps because the aesthetics of the two rooms demand two different approaches, then you’ll have a trickier time. Use masking tape to create a clear line on one side of the door, and then paint one side while standing in the first room. Then open the door and move into the second.
To make matters easier, you might consider removing the door from its frame while you’re painting. While this isn’t a requirement of the job, it will help to ensure you don’t get paint spattered on the door itself.
In conclusion
If you’re looking to keep your door looking its best, then you’ll need to occasionally repaint the architrave. Fortunately, this isn’t a job that requires too much skill and effort – you needn’t be a master painter to achieve respectable results. That said, such results are possible only with time and care – so be sure that you’ve set aside a few days to get the job done without rushing it.
Related articles