If you’re in the midst of redeveloping your house or you’re having new internal doors fitted, there’s a good chance that you’ll be having new architraves to compliment your doors.
What are architraves? Not everyone will be familiar with the term but even if you haven’t heard of them, it’s highly likely that you’ve been in contact with architrave at some point in your life.
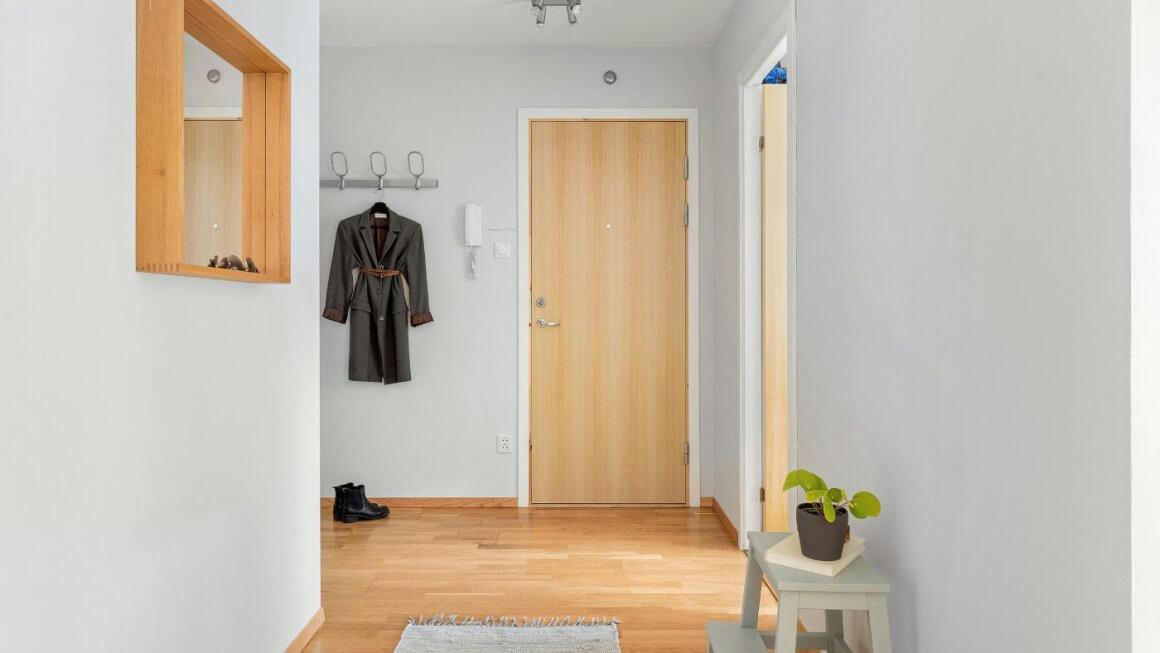
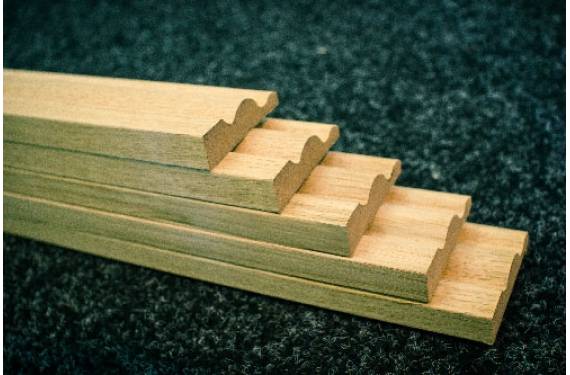
The term refers to the decorative moldings that surround a doorcase. Most often they’re made from solid timber which is then painted or stained, in some cases they can also be made from MDF, plaster and uPVC.
If you’re looking to save money or if you fancy yourself as a bit of a DIY expert and you want to fit your own architraves, this handy guide should hopefully help you get the job done.
What Tools Are Needed For Fitting Architrave?
Installing door architraves can be tricky and when doing any DIY around the house, it’s important to make sure you have the right tools for the job. Not having the correct tools could be the difference between an okay job and a great job. So, here is a list of tools that you’ll need to fit architraves:
- Tape measure
- Hand saw
- Safety glasses
- Pencil
- Drill/driver and bits
- Spirit level
- 40mm nails
- Nail punch
- Hammer
- Mitre box or saw
If you don’t already have them, always invest in mitring tools when cutting architraves. The last thing you want is a wonky or out of line frame with gaping joints!
How Long Does It Take To Fit Architrave?
Fitting time can vary depending on a number of things. If you’re skilled in fitting architrave you can expect one side of a door to take a couple of hours. This can be increased depending on skill level and the number of architraves that are to be fitted.
Step By Step Instructions For Fitting Architrave
Fitting architraves is a process that needs to followed carefully to ensure the best possible outcome. Before starting, it’s always good to ensure you have everything you need for the job in place and to hand. This will include tools, any adhesives and sealants and of course however many lengths of architrave that you may need. Once you’re ready and set, the instructions below should guide you through fitting:
- Step 1: Set out the margins
The architrave needs to be set back slightly from the front edge of the door frame. This can be as wide or as minimal as you’d like but usually going for around 5-10mm is a safe distance as you’ll still have some of the door frame behind to nail into.
Once measured, mark on the frame using the spirit level and a pencil, put crosses in the corners to note where you should mitre. TOP TIP: Getting the mitring right is more important than the margin, poor mitring can leave you with gaps and fillers will be needed which can be noticeable once painted.
- Step 2: Measure and cut your timber
Once you have your door frame measurements in place, cut two pieces of your selected timber architrave for the legs (longest lengths) of the door frame, making sure to leave enough excess for mitring. Standard height is usually 2.1m but always check first before cutting. A piece for the head of the door should also be cut, taking into account the need for mitring.
- Step 3: Fix the first leg
This part is where it comes down to personal preference. Some people would mitre and fix the head piece first and then measure up from the floor for the legs, the only difficulty with this is that it can make it more difficult to get you mitred joints to fit perfectly, meaning that you’ll either need to fill the joint or raise the legs which could become a problem with your flooring.
Alternatively, sit one of the legs where it should be in terms of the floor and transfer the cross previously marked on the door frame to the inside edge of the architrave. The architrave should then be mitred at a 45 degree up from the cross.
Once happy with the cut, fix the first leg to the frame using the previously drawn markers using a generous layer of PVA adhesive on the back side of the architrave where it will touch the door frame and 6 to 7 evenly spaced 40mm oval head nails. Use a nail punch to “bury” the nail and then fill the space created ready for painting and a seamless finish.
- Step 4: Fix the second leg
As with the first leg, the process is exactly the same for the last leg but alternated, so any cuts should go from left to right rather than right to left and visa versa.
- Step 5: Cut and adjust the head piece
Cutting the head piece is very similar to the legs, however with this piece, both sides are cut, this time you will need to take measurements on the outside edge and mitre at a 45-degree angle from the outside in.
All being well, the head piece should then slot into the space above the door with ease, if it struggles or it’s not quite lining up, a slight adjustment in the mitre angle should ensure a cleaner fit. Like the legs, the head piece can then be fixed in place using adhesive and equally spaced nails as before.
The whole process of fitting architrave should take approximately two hours, depending on your skill level and other factors such as the door frame you’re working with. The key is to remain patient and ensure maximum precision at all times. If you’re not totally confident in your abilities, the best thing to do would be to consult with a professional for guidance… you never know, you might be doing a better job than you thought!