We all want to keep our homes, and everything in them, in the best condition possible without spending a fortune on doing so. Our internal and external wooden doors are no different, not only do well-maintained doors look good and add to the design of your home, but keeping your doors in good condition also allows you to make your home more energy efficient, retaining heat better and lowering energy consumption.
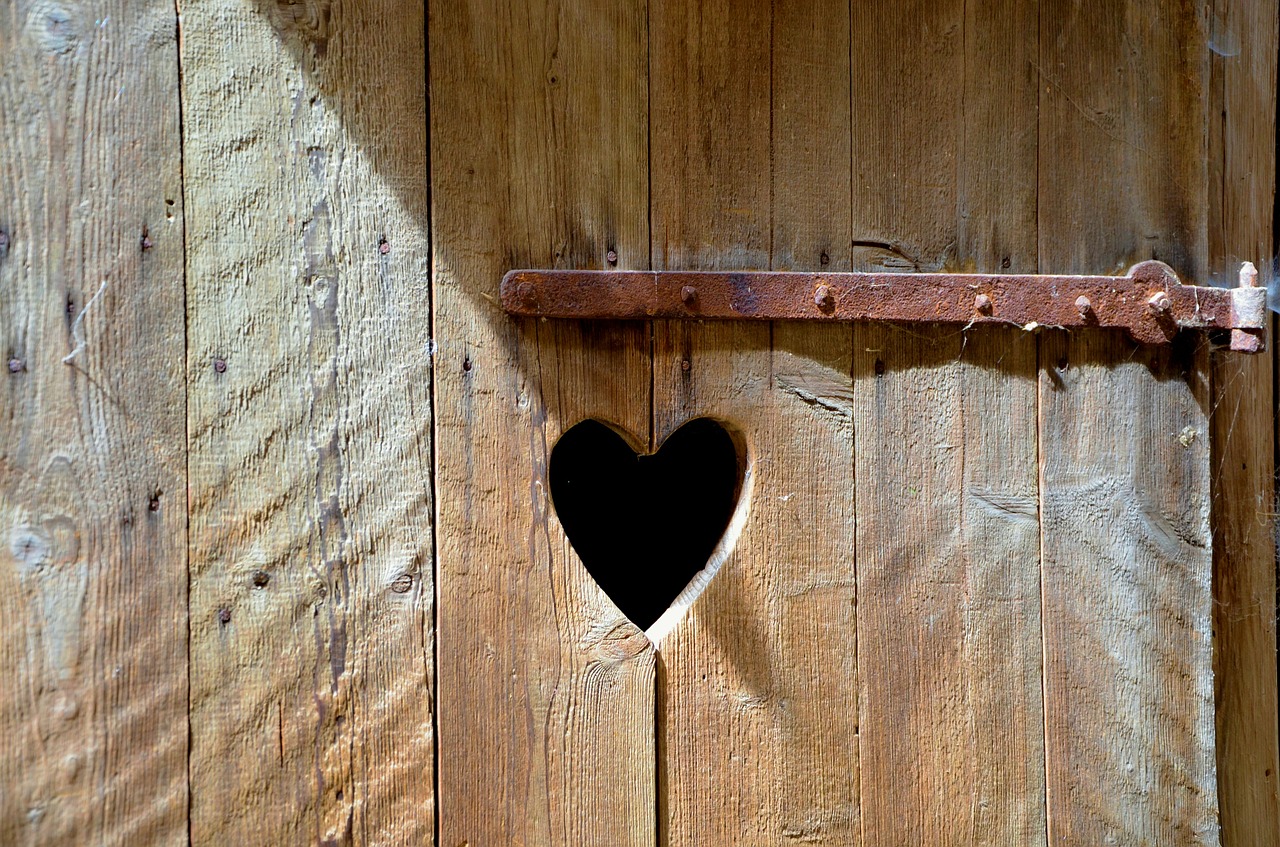
The natural beauty of wooden doors and door frames is a huge part of their popularity, but they do need a little help to keep them looking as good as possible. In this guide we’ll offer you various DIY tips and videos with wooden door maintenance advice, and demonstrate to you how you can instantly enhance your wooden doors, save money and keep your doors in great condition.
How to Care for a Wooden Door
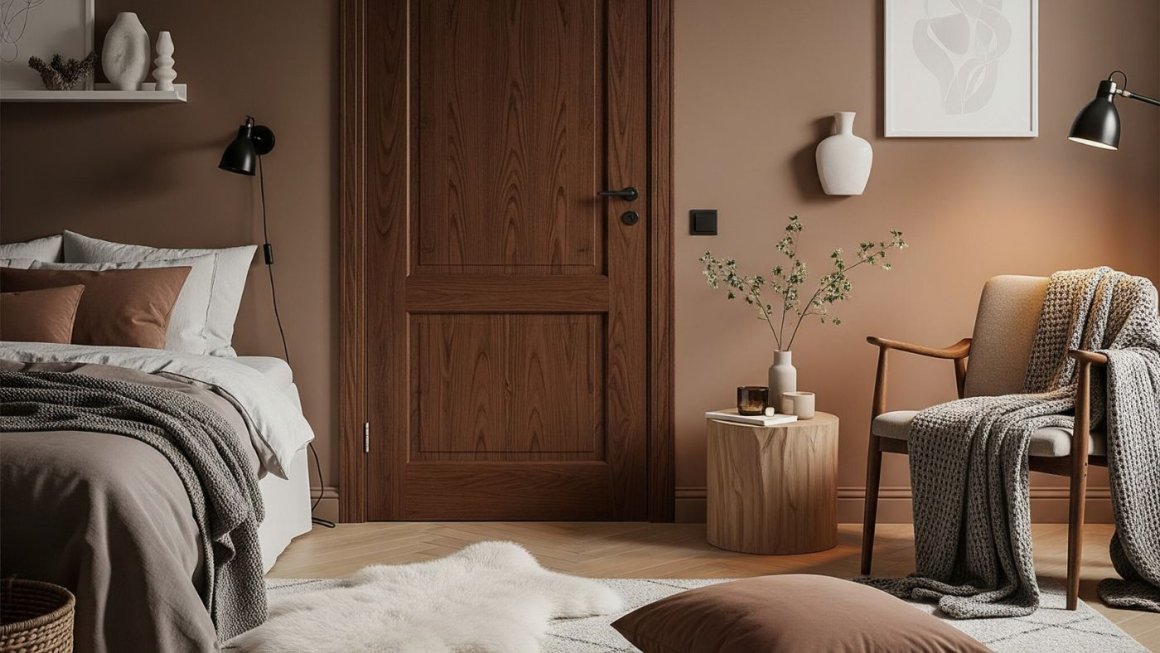
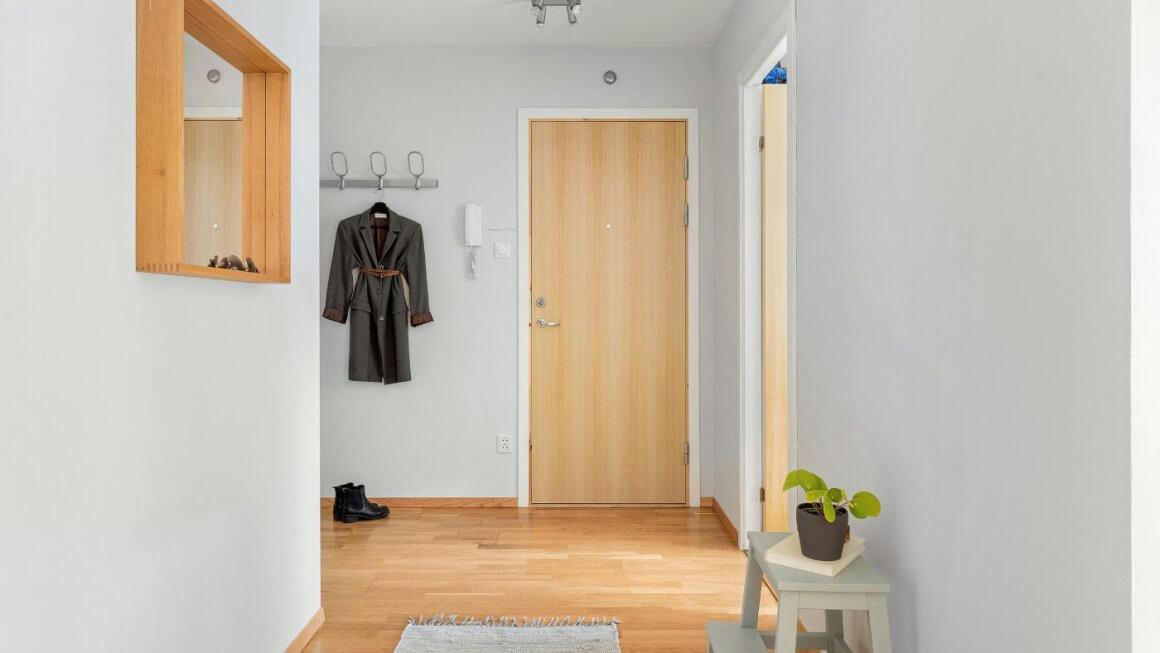
The care your wooden doors will need will depend on their location in your home. An exterior wood door, for example, will need weatherproofing to ensure it doesn’t suffer the effects of direct sunlight, stays resistant to rain and draughts, and retains its energy efficiency over time. Internal wooden doors may not need this level of upkeep, but they can still suffer from moisture ingress and draughts, as well as general wear and tear, so it’s still important to clean and check them periodically.
How to Clean a Wooden Door
The most basic form of maintenance is keeping your wooden doors clean. Luckily, cleaning a wooden door is not too tricky or time-consuming.
The first thing is to use a clean duster or other soft cloth to remove any dust, dirt and debris that may have accumulated. You’ll need to make sure you cover all surfaces, nooks and crannies, including the door frame, all edges of the door, hinges, hardware, panels and grooves. You may find that a small brush, such as a paintbrush, helps with this too.
After that, take a bowl of warm, soapy water and wipe down the surfaces of the door and frame. Then go over once again with clean water to remove any soapy residue as this can also damage your wooden doors. Give your door a thorough drying down with a clean towel to stop any water getting into the wood.
Finally, give your door handles a clean using antibacterial spray or wipes, as these are where germs are most likely to collect. You can also give your doors a once-over with some wood furniture polish for a really clean, fresh look.
How to Varnish a Wooden Door
If your doors arrive without a finish, the first thing we’d recommend is for you to apply some wood protection product or stain. Even if your door arrives with a factory finish, these are often very light, so it’s well worth adding your own anyway.
While wood is a durable material, it is also a natural material. As such, it does react with moisture and over time will wear, so applying wood protection is really important for the longevity of your exterior wood doors in particular. It’s recommended to use a high quality wood oil, varnish or stain for the best results.
- Prepare the door
Clean the door by brushing it down or wiping it with a tack cloth to remove dust or dirt collected. - Apply the varnish
Using a quality paint brush, start by covering the mouldings then apply to the rest of the panel. Follow the grain of the wood and apply evenly. - Allow to dry
After the first coat has dried, if you wish to remove any small varnish lumps that might have formed use a very fine adhesive paper and go over the door lightly. Before applying the second coat, wipe the door down again with a tack cloth to remove any collected dust. - Apply a second coat
Evenly apply a second coat to finish the door.
Top tip: When varnishing wooden external doors, apply a third coat for an extra strong and durable finish.
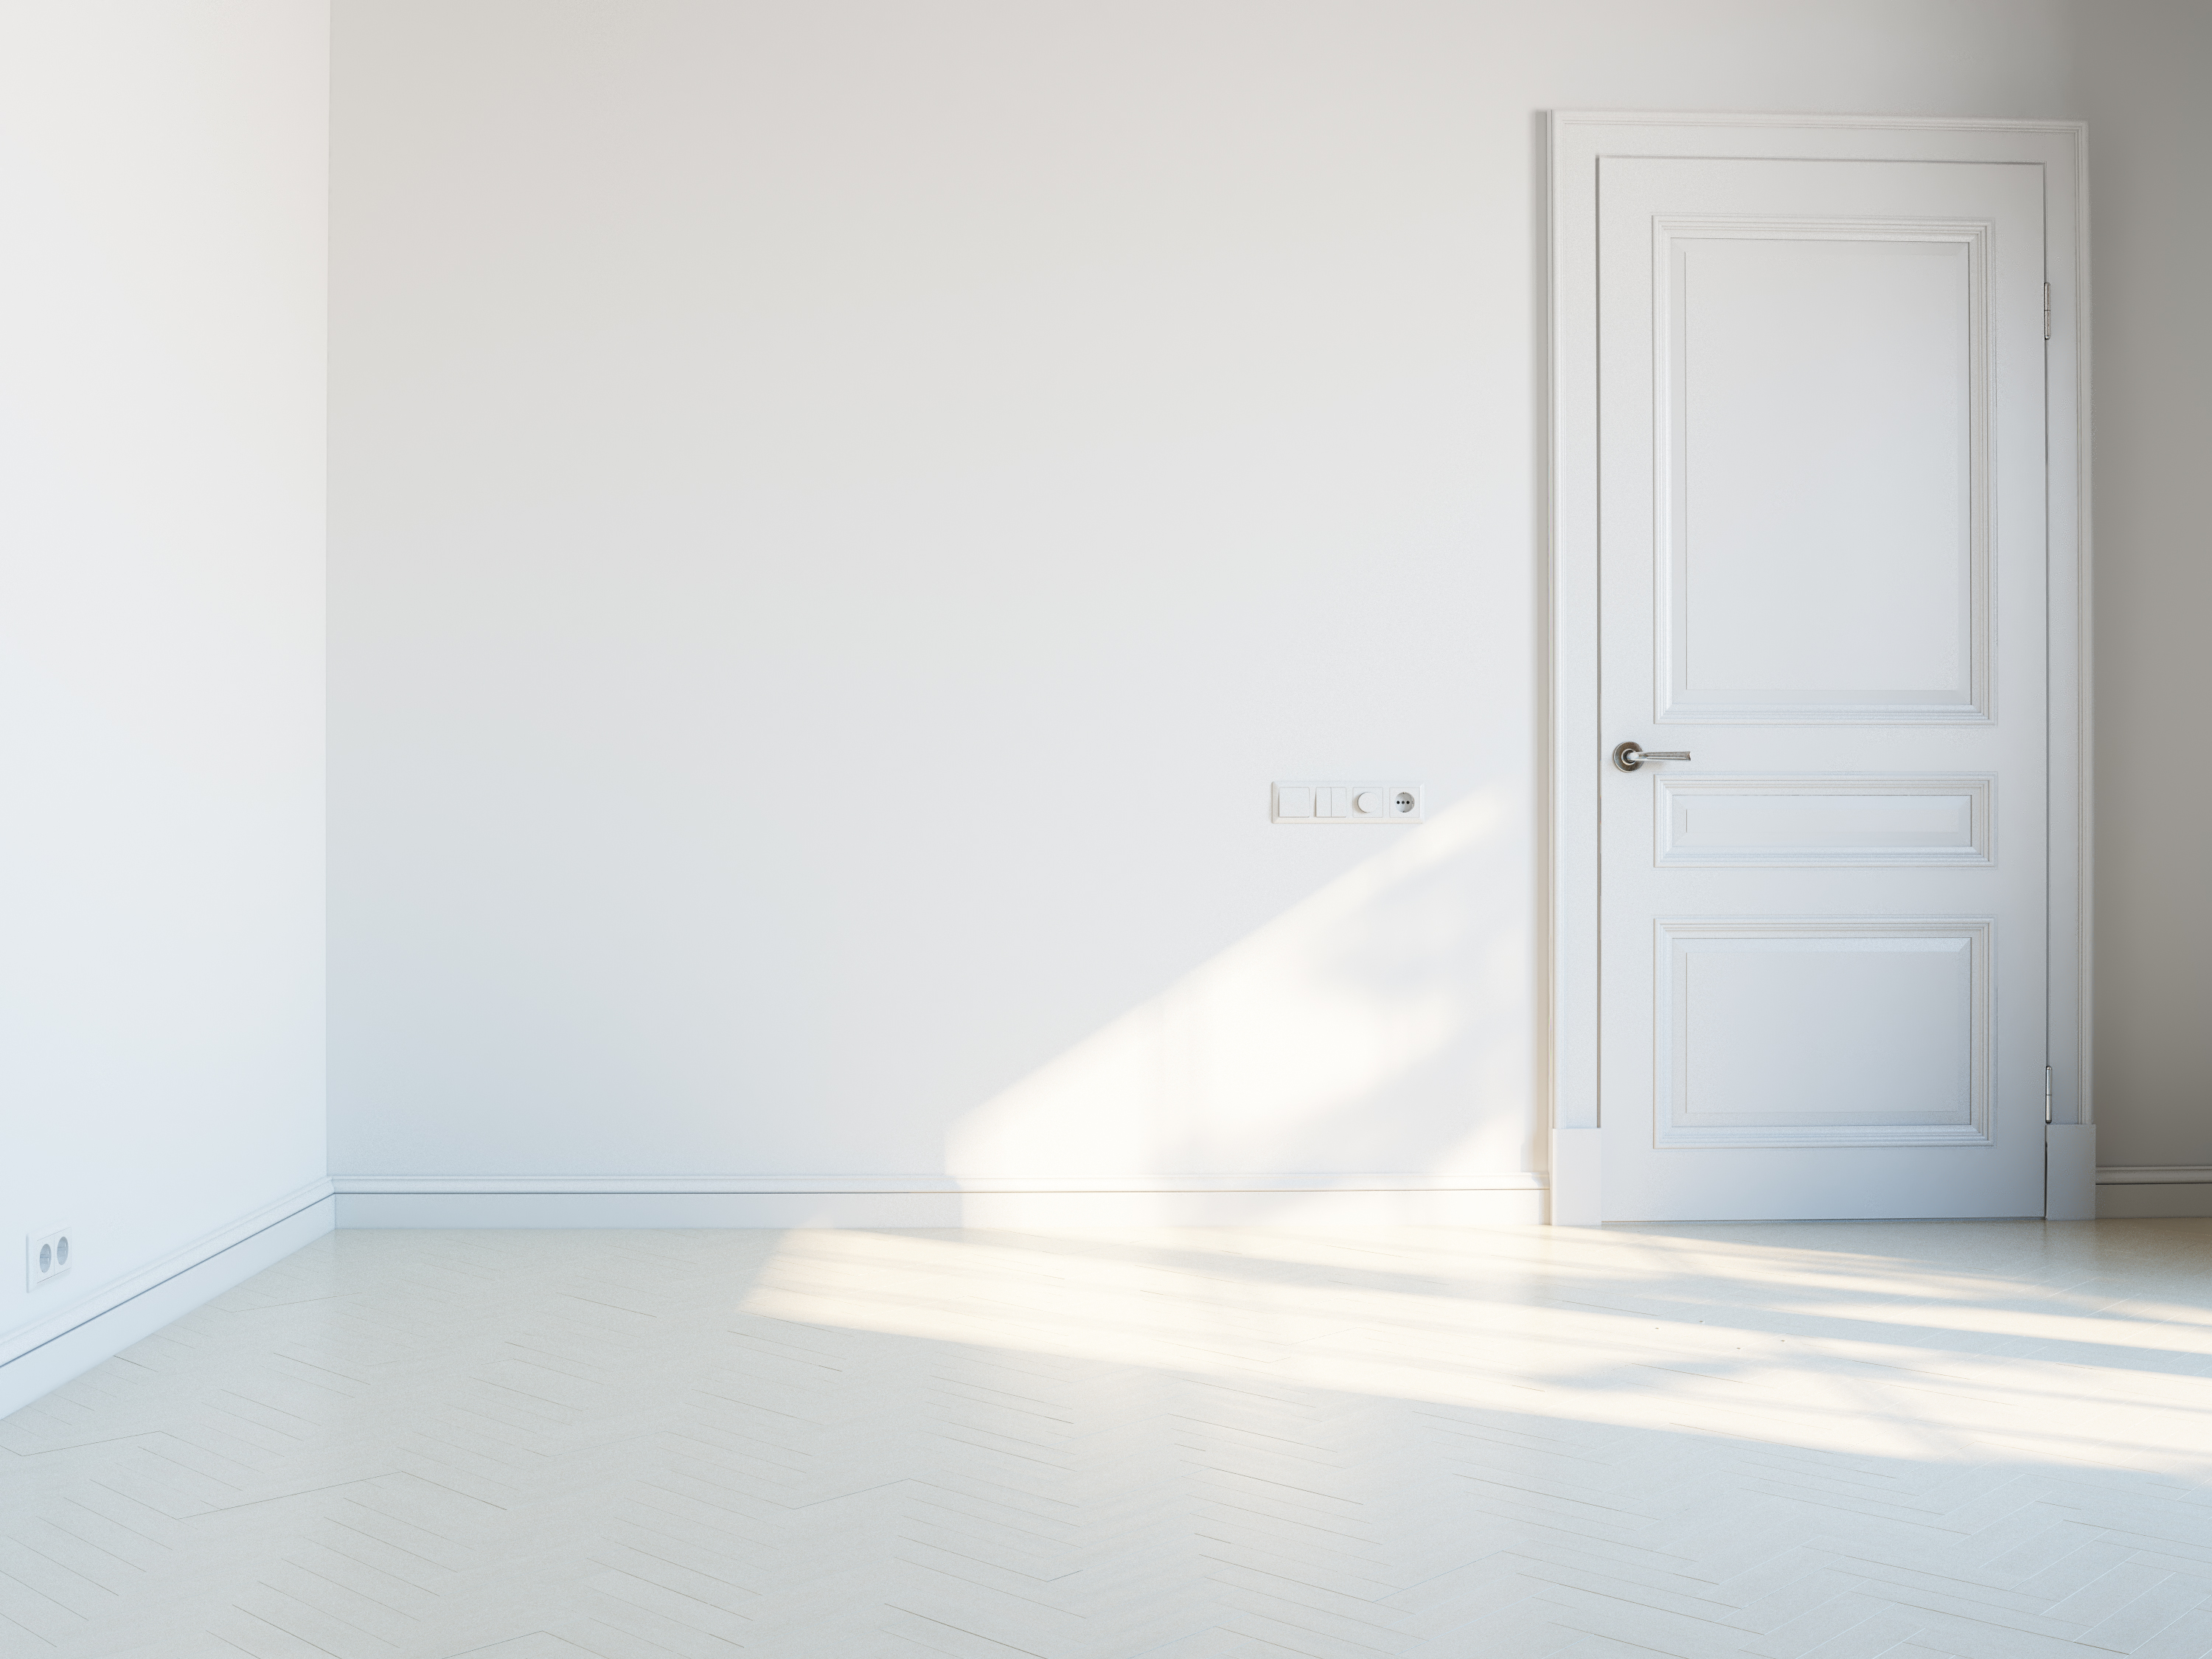
How to Paint Internal Doors
Here are our top tips for painting internal doors. Before you start, make sure that you put a dust sheet on the floor just to protect it and ensure that no paint drops onto your floor. If you can, remove the door handles to protect them and also to make it easier for you to paint around the area of the handle, if the handles can’t be removed, just cover them with masking tape before you start.
If the door has already been painted it’s recommended that you strip the paint off the wood and don’t paint over it. To strip paint from a wooden door you simply apply a high quality paint stripper to the entire painted area of the door, leave it for the recommended amount of time and then scrape it off. After you’ve stripped the paint, give the door a wipe with a damp cloth, allow it to dry and then you can begin the painting process.
Make sure you prop the door open and don’t paint it closed.
What you’ll need:
- Sandpaper
- Primer
- Paint
- Soft cloth
- Dust sheet
- Dust mask
How it’s done:
- Sand the door
Sand the door down in the direction of the grain to make it smooth and clean before applying the primer. Once you’ve sanded the door wipe it down to get rid of any dust or sand that’s left over. - Apply the primer
Be sure that if you’re using an oil-based paint that you use oil-based primer and if you’re applying a water-based paint, use a water-based primer. Start with the mouldings, followed by the panels. - Allow to dry
Once the door has dried, use a finer sandpaper to smooth it down, giving the best surface for you to paint onto. Wipe away any dust or excess before painting. - Apple the paint
Using the same method as with the primer, start with the mouldings and follow the grain the wood with the brush, painting one panel at a time. Don’t forget to paint the inside rim of the door too.
Top tip: Don’t put too much paint on the brush, this prevents any runs or drips, giving an even application.
How to Repair Chips in Wood
A key part of wooden door maintenance is repairs; your doors go through a lot, from being slammed, scuffed by shoes and scratched by pets to the general wear and tear of every day life, so over the course of a few years, your oak doors may well pick up a few bumps and bruises. If your door or door frame gets chipped, you’re faced with four options: leave it, pay for someone to fix it, buy a new one or fix it yourself. The fourth option seems to be the best choice, allowing you to keep your doors looking great and not having to spend money on replacing or employing someone to fix them.
To repair a chip in a wooden door, you will need:
- Wood filler with Hardener
- Spatula
- Sandpaper block
- Paint
How to do it:
- Apply the wood filler to the chip or hole
Mix the filler and hardener following the instructions on the packaging, then use your spatula to spread over the damaged area. Hardener dries very quickly, so be sure to be apply the filler straight away. Evenly spread it over the chip or hole until it’s covered and then leave to dry. - Sand down and smooth
Once the filler has dried and has hardened, use a sandpaper block to smooth down the filler. It’s recommend to use a coarse sandpaper to take off the top layer, then use a finer sandpaper to finish it. - Paint the area to complete the repair
Prime and paint the door to complete the repair and give the best finish.
Top tip: Don’t use regular sandpaper to sand the filler. Your fingers will indent the filler, so make sure that you use a block to keep the surface flat.
Check out this useful How to Repair an Internal Door video tutorial