
‘Door jamb’ sounds like the worst jam ever made. But, of course, it isn’t. Instead it is a key part of the simplest, most elegant, design for hanging doors, used the world over. So take that bread out of the toaster and read on for our top tips on how to remove, install and replace these pillars of modern architecture.
What’s A Door Jamb?
You may have heard the terminology before, but unless you’re in the trade, you might not have known how to spell the word, let alone know what a door jamb looks like. So let’s start at the beginning and talk about what a door jamb actually is, and where you’ll find one.
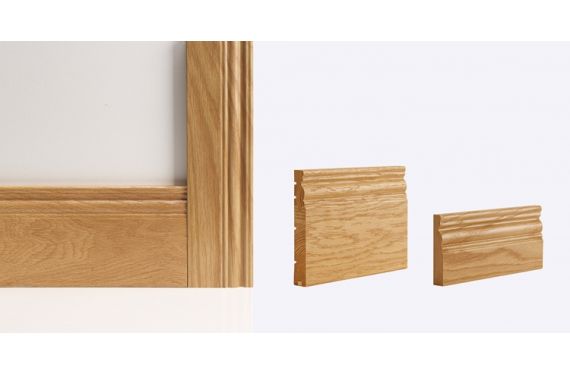
The definition of a door jamb is very straightforward. A door jamb is simply the side post, or vertical part of a door frame. The door jamb on one side bears the weight of the door through its hinges, and the other side typically has a recess for a latch or a bolt to slide into when closed.
The thin strip of wood running up the length of a door jamb is called the door jamb stop; it simply stops the door from swinging off its hinges. Any decorative trim surrounding the door frame is called the door jamb casing or architrave, and it can usually be removed without interfering with the door or the frame itself.
A door jamb set or a door jamb kit is a pack that contains all the elements you’ll need to replace your door jamb. It will often also include the horizontal piece that sits across the top of the door frame, known as the ‘head’ as well.
So now you know what the jamb of a door is and what it does. And why do we call it a jamb? Well, it comes from the French for ‘leg’, which is jambe.
You can find out the difference between a door jamb and a door frame here.
How to Measure Up
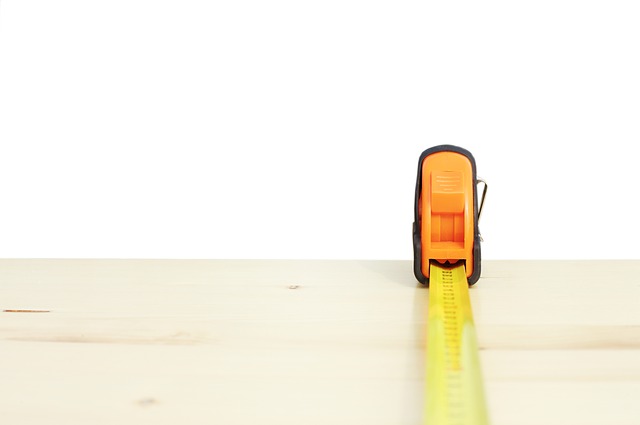
As with pretty much all DIY jobs, if you’re thinking of replacing your door jambs, your first step is to measure up. When it comes to jambs, this part of the job is important to get right, but don’t worry, we’re here to show you how to measure a door jamb correctly so the process is as smooth and successful as possible.
First of all, lets talk about the door jamb depth. This is essentially the width of the door jamb, or the measurement of the wall thickness that your new door will be fitting into. If you can, remove any casing and measure from the visible edges of the existing jamb to get the most accurate measurement. Too short, and you’ll have exposed rough wall opening. Too long and you’ll need to shave the jamb down until it fits.
How to measure your door jamb depth when you don’t have an existing jamb as a reference will rely on you measuring the wall itself and for reference, a door jamb will typically be 1” wider than the door frame. You’ll usually find you can order your new jamb based on jamb width or wall width. Just make sure you specify which measurement you’re supplying!
Whilst there’s no substitute for good measuring, when it comes to door jamb size, you’ll typically find the wall you’re fitting into will be either 2×4 or 2×6. Manufactures make jambs to fit both of these sizes, and you can consider these the standard sizes for door jambs. If you are fitting an interior door jamb, you’ll likely be dealing with a 2×4 wall size. An exterior door jamb size can vary (and measurement is key here in order for the door to operate correctly), but they’ll often be 2×6. Just remember a door jamb size for both 2×4 and 2×6 walls will be 1”wider than the walls themselves. And that’s how to measure a door jamb size!
Once you have identified what your door jamb size is, and what door jamb size you need, take a look at the rest of this article for tips on removal, replacement and installation.
How to Remove A Door Jamb
Whether you want to remove a door jamb for moving furniture or to fit a new one, you’ll be pleased to know it’s a relatively simple job.
Your first step here is to remove the door. This will either be a case of unscrewing the hinges, or simply tapping out the centre barrel of the hinge using a hammer and nail.
Next we need to know how to remove the door jamb trim, or architrave. To begin with, use a utility knife to cut around the edge of the trim that meets the wall, and the edge that meets the frame to make sure there’s no caulk or paint holding the trim in place. Then use a screwdriver to begin to prise the casing from the wall, moving evenly around the trim. Switch to a pry bar when you can, and keep going until the casing comes away.
Now it’s time to remove the door jamb itself. This process is very similar to removing the trim in that you’ll need to use a screwdriver and then a pry bar to gently and evenly lift the jamb away. If you’ll be throwing the jamb away once it’s removed, you might find it easier to use a saw to cut the jamb into sections, removing one section at a time. Some more modern door jambs are secured with wood screws. If this is the case, you’ll need to unscrew these before pulling the jambs out.
So that’s how to take off a door jamb, but what about how to install one?
How to Install A Door Jamb
In this section, we’ll look at installing a door jamb. Unless the head of the door frame is already in place, the first step is to assemble your frame. This will almost certainly be the case if you’re installing a door jamb kit. Double check the measurements of your frame against the space in which you’ll be hanging your door jamb, and trim any lengths as necessary. Trimming a door jamb is just a case of using a saw, but try to trim your door jamb evenly at either end so as to keep any fitting grooves centralised; this is particularly important for the head piece.
Once you have cut your door jamb, nail your jambs to the frame head and position the frame in the door jamb installation space. Next use a spirit level to check the verticals and horizontals. If the frame isn’t quite true, or if there are gaps between the stud wall and the frame, you’ll need to use packers (which are like little wedges). Simply look to see where they need to be placed, and then nail them onto the stud wall. Once you’re happy with the fit and you’re sure the edge of the frame is flush with the wall (so that the trim will fit over it cleanly), it’s time to nail the frame to the wall. Just be aware of where your hinges will go, and keep those sections nail-free. You might find using a nail gun makes this part of the process quicker and easier.
Next, measure the thickness of your door, and mark out on the head piece its position when the door is closed. Use this as a guide as to where to place your stops to make sure your door to jamb spacing is accurate. Cut and nail your stop to the frame head, and then do the same with the jambs.
Once you’ve finished installing your door jamb, you’ll need to know how to cut your door jamb for a strike plate and for hinges before you start installing your door. But as far as actually fitting a door jamb goes, that’s it!
How To Replace A Door Jamb
There are lots of reasons why you might replace a door jamb. Perhaps a new door requires a new frame, you might be repairing an existing door jamb or you could be fixing a door that has been kicked in. Whatever the reasons, the process of how to replace a door jamb is largely that outlined in the previous two sections.
However, if you are replacing a door jamb for a door that you are keeping, don’t forget to use the old door jamb as a template. It will help you to quickly measure up where to cut for the hinges and the strike plate. If you’re lucky, your door jamb repair will mean you’ll be able to re-use the hinges and strike plate from your old set up.
In Conclusion
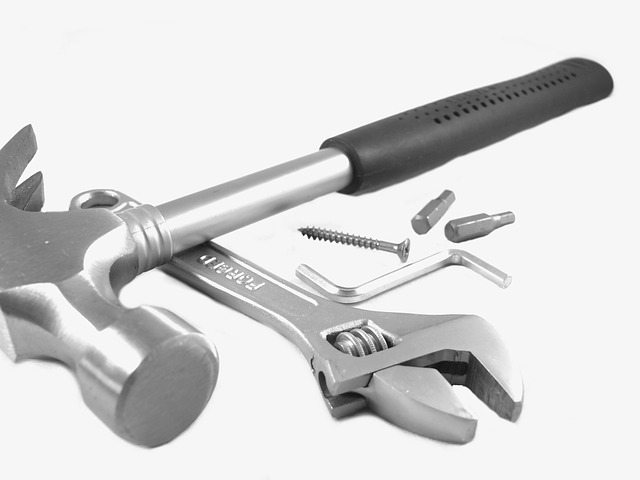
Removing, replacing or installing a door jamb is not the easiest job in the manual, but with the right tools and a bit of gusto, it’s well within the abilities of most DIYers. Have fun with this one, measure twice to cut once and if you’re feeling really confident, why not save a little more money and cut the timber for your jambs yourself?!