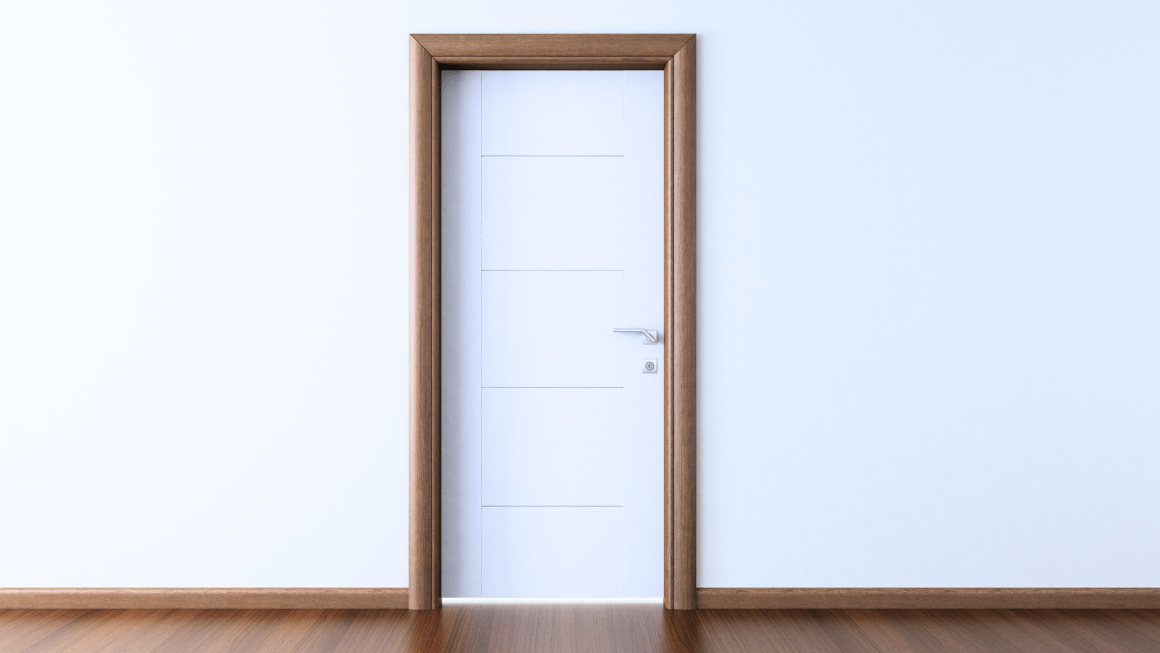
Installing a new front door is a great way to increase your kerb appeal and breathe a new lease of life into the exterior of your property. If your old door is looking dull and drab, or is worn and letting drafts through, why not replace it with a new one?
You can buy pre-hung doors with weatherstripped frames. These doors are easy to install, and you don’t need to be a skilled carpenter or expert DIY enthusiast to do a good job.
These instructions assume you are working with a pre-hung, wooden door. Doors come in a range of different sizes and styles, and also feature different jamb widths. Before you go shopping for a new door, measure your old door and jamb, and take those measurements with you. Typical measurements for jambs are 4-9/16 in and 6-9/16 in. If your door is a less standard size then you may need to get one custom made. Be sure to make a note of which way the door swings too.
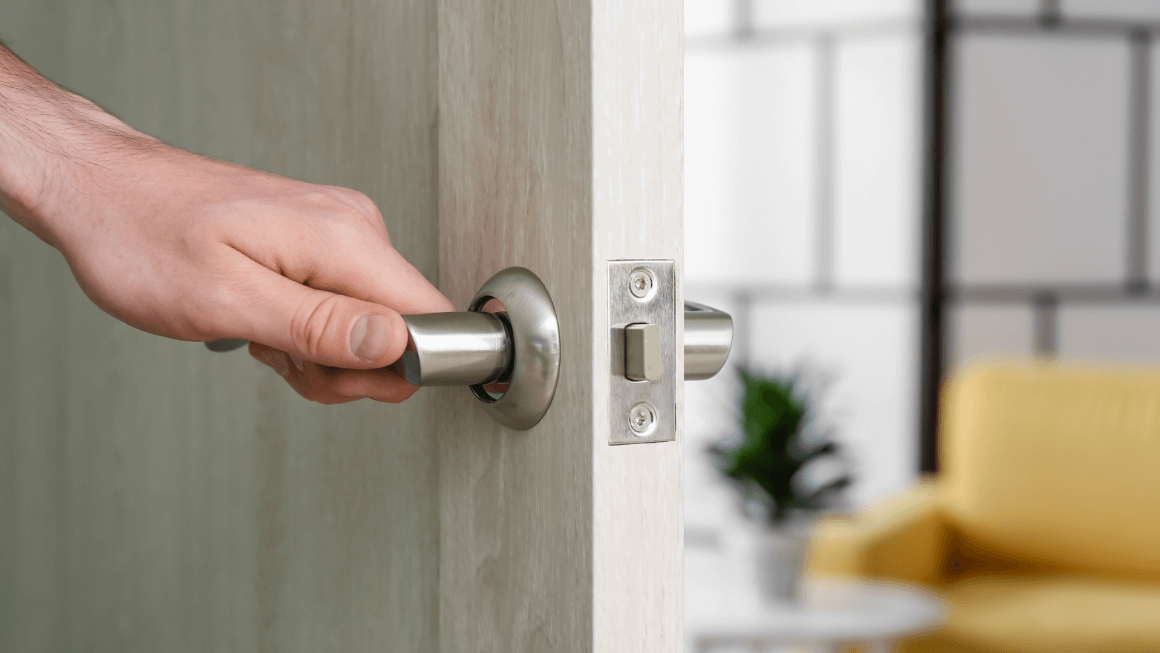
When buying your door, try to arrange to get the door drilled to accept your new lock. This will save you some time and hassle when installing your new lock and door handle.
Tools Needed
Make sure you have everything you need before you start work. It would be most inconvenient to find yourself missing some equipment once you have taken your old door out of the frame! You will need:
- Hammer
- Spirit level
- Tape measure
- A screwdriver set
- Metal snips
- A caulking gun and some caulk
- Utility knife
- Saw
- Drill
- Pry bar
- Pencil
- Nails
- Shims
- Screws
- Casing
- Drip edge flashing
- Waterproof membrane
Time Required: This project should take 2-4 hours. However, if this is the first time you have replaced an exterior door, give yourself a little longer so that you can take your time over measurements and make sure everything goes smoothly.
Step By Step Instructions
Before installing your new door, finish it with some paint or varnish. It is best to do this before hanging the door because it is easier to work with the door when it is flat. In addition, you can paint it indoors, or in your garage, and not have to worry about the weather turning bad while you work.
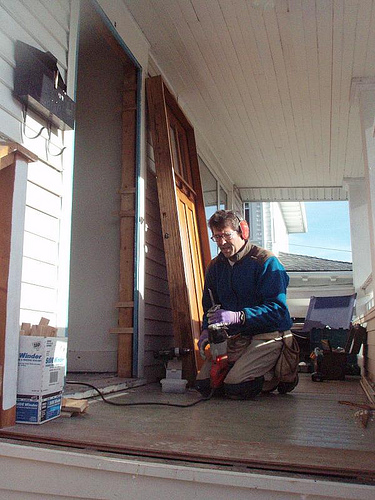
Once the finish on your new door has dried, you can start work. Firstly, you will need to remove the old door. Check the weather forecast before you do this!
Removing a Door:
To remove the old door:
Step 1: Use your utility knife to cut a line between the door casing and the wall, separating the paint and ensuring that the door comes out cleanly.
Step 2: Use your pry bar to pull the casing out of the wall.
Step 3: Unscrew the door hinges and pull the existing door out of the frame.
Step 4: Now that the door is removed, you can pry the frame from the opening.
Installing the New Pre-Hung Door
Step 1: Before starting work, ensure that the floor under the door threshold is level, and at the correct height. You can raise the floor if required by using treated wood cut to the correct size.
Step 2: Use waterproof membrane to cover the top, bottom, sill and corners of the rough opening so that they are shielded from moisture.
Step 3: Cut some drip edge flashing to the width of the opening, and slide it between the exterior finish and the weather barrier.
Step 4: Now you’re ready to put the door in place. Pre-hung doors are far easier to install than standard doors. Tack tapered shims to the surface of your frame so that the frame is vertically plumb. Place another shim on the floor, for the jamb to rest on. Place the door and frame in the opening and make sure that everything lines up. Tack the frame in place with finish nails, but do not drive them all the way home.
Step 5: Working around the door, make sure that the top jamb is horizontally level, and that the latched jamb is flush with the face of the drywall, and vertically plumb. When each part of the frame is correctly positioned, tack it in place with nails.
Step 6: Once you are satisfied that the frame is correctly positioned, and that the door opens and closes correctly, cut back the shims on the interior side of the door. Drive the finish nails home.
Step 7: Fill any gaps between the door frame and the rough opening using fiberglass or foam insulation.
Step 8: Install the interior door casing, and fit any remaining hardware.
Step 9: Run a bead of silicone caulk around the outside of the door frame. In addition, apply caulk under the threshold, and between all joints. If the gaps are large, you may need to insert some caulk backer so that the caulk stays in place. Take care to fill every gap to stop moisture from penetrating the door.
Step 10: For a professional finish, cover the nail holes with putty or liquid wood, and touch-up the paint.
Conclusion
The above instructions are general instructions that will work for most pre-hung doors. Be sure to read the instructions that come with your new door before starting work. Failing to follow the doors installation instructions will void the manufacturer’s warranty, and could pose a security risk for your home.
Work slowly and systematically, and be sure to test the door periodically while you are putting the frame in place. If the door catches at any point, adjust it immediately. If the frame is pinching the door now, then it could end up catching in the future, especially when the weather gets worse and damp causes the wood to expand. It is important that the door sits securely in the frame, and that the frame is not warped or off-kilter.